

Many think that the secret to an unforgettable bowl of ramen is in the noodles, but any (real) ramen master you find behind a counter somewhere in Japan will tell you differently. The soul of the dish is really in its broth. You are reading this post because you are looking for THE BEST ramen broth recipe.
The only way to get that velvet texture and deep, nuanced flavor profile (Ditching the store-bought packets) is with several hours of slow-simmered technique. In this in-depth guide, we will go on to make a delicious, authentic ramen soup base from scratch so that your homemade bowl can compete with the best one at your favorite local ramen joint.
Print recipe
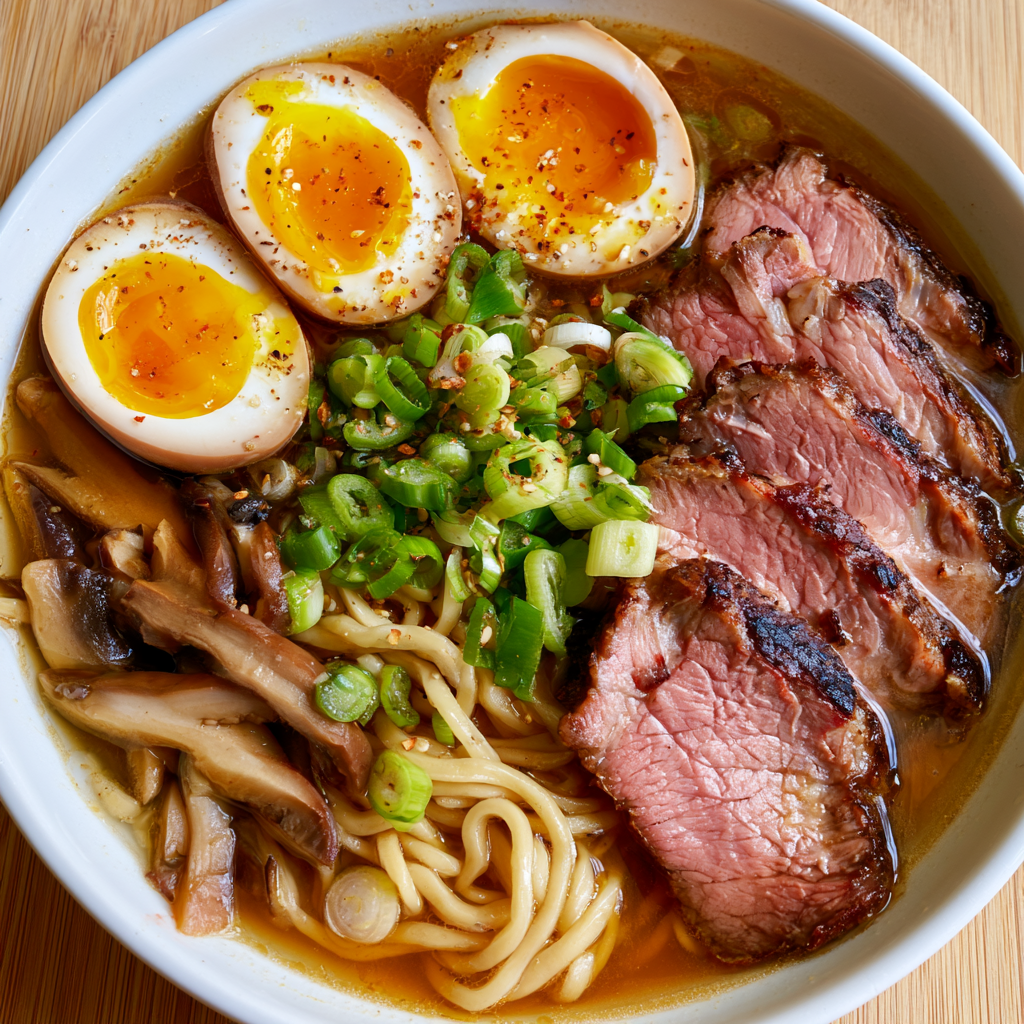
The Ultimate Best Ramen Broth
Ingredients
- For the Broth The Soup Base:
- 4 lbs 1.8 kg chicken bones (a mix of wings, backs, and carcasses for maximum collagen)
- 1 large onion halved (skin left on for color)
- 1 whole head of garlic sliced in half horizontally
- 2 inches 5 cm fresh ginger, thickly sliced
- 1 bunch of scallions green onions, roughly chopped
- 4-5 dried shiitake mushrooms
- 12-14 cups cold water enough to fully submerge the bones
Equipment
- 1 Large heavy-bottomed stockpot (at least 8-quart capacity)
- 1 Fine-mesh strainer (chinois)
- Kitchen tongs
- Skimmer or large spoon (for removing impurities)
- Large heat-proof bowl (for straining)
Method
- Blanch the Bones: Place the chicken bones in the large stockpot and cover them with cold water. Bring to a rapid boil over high heat. Let it boil vigorously for 10-15 minutes. You will see dark foam and impurities rise to the top.

- Clean the Bones: Carefully drain the water and transfer the bones to a clean sink. Rinse each bone thoroughly under cold running water, scrubbing away any dark spots or cooked blood. Wash the stockpot completely. (Do not skip this step; it ensures a clean, pure-tasting broth).
- Build the Flavor: Return the clean bones to the washed stockpot. Add the halved onion, garlic, sliced ginger, scallions, and dried shiitake mushrooms.
- The Long Simmer: Pour in the 12-14 cups of fresh cold water. Bring the pot to a gentle boil, then immediately reduce the heat to the lowest setting to maintain a slow, gentle simmer.
- Skim and Cook: Let the broth simmer uncovered for 4 to 6 hours. During the first hour, use your skimmer to remove any additional foam or fat that floats to the surface.
- Strain the Broth: Once the time is up, turn off the heat. Carefully pour the broth through your fine-mesh strainer into a large, heat-proof bowl. Discard the bones and aromatics. You are left with a pure, liquid gold ramen base.
Nutrition
Notes
- The Tare is Essential: Remember, this broth is intentionally unseasoned! To serve, you must add 2-3 tablespoons of Tare (soy sauce or salt-based seasoning blend) to the bottom of your serving bowl before pouring in the hot broth.
- Storage: Let the broth cool to room temperature, then transfer it to airtight containers. It will stay fresh in the refrigerator for up to 4 days, or it can be frozen for up to 3 months.
Private Notes
Tried this recipe?
Let us know how it was!Why the Broth is the Soul of Ramen
A good ramen stock is not as simple to make as boiling water; however, it’s a careful extraction of flavors. Japanese ramen broth has a proper balance of savoriness, hints of sweetness & that elusive umami goodness. Every bite coats the noodles perfectly through controlling cooking time and the extent of ingredients.
The Three Pillars of the Best Ramen Broth
To build an easy ramen broth from scratch, you need to understand its core components. We aren’t just making a soup; we are constructing layers of flavor.
1. The Soup Base (The Bones)
Bones are the backbone, pun intended! We prefer a blend of chicken bones (often wings and backs) for their collagen, which lends the broth body. If you’re after a deeper and richer flavour like the type used in tonkotsu broth recipes, you can add pork trotters or beef bones.
2. The Aromatics
This is where the magic happens. To balance the richness of the bones, we introduce fresh aromatics:
- Fresh Ginger: Adds a subtle, sharp warmth.
- Garlic: Essential for depth.
- Scallions (Green Onions): Provides a fresh, oniony bite.
- Dried Shiitake Mushrooms: The ultimate umami booster.
3. The Tare (The Seasoning)
The broth is purposely unseasoned. This Tare (pronounced tah-reh) is what gives the ramen its saltiness and unique flavor. Whether you use a traditional shoyu ramen broth (soy sauce-based) or opt for the saltier profile of a shio (salt-based), this is where your ramen tare recipe comes in, as it’s simply an ingredient that adds concentrated seasoning to individual bowls.
Step-by-Step Instructions: How to Make the Best Ramen Broth
Patience is your best ingredient here. A truly slow cooked ramen broth requires time to extract every bit of flavor.
Step 1: Blanching and Cleaning (Crucial Step)
Fill a large pot with the bones and cover them in cold water, then bring to a boil over high heat for 10 –15 minutes. There is foam and other impurities at the top. Cooking the broth this way is a must if you want to make it clean, taste-wise. Discard the water; rinse bones under cold running water very well.
Step 2: The Long Simmer
Put the cleaned bones back in a new pot of water. Add your aromatics (ginger, garlic, scallions and shiitake). Bring it to a gentle boil and then reduce the heat immediately to low simmer. Put the lid on, and let cook for a minimum of 4–6 hours. Taste occasionally and skim off excess fat if using for a clearer broth.
Step 3: The Final Strain
After all of the cooking time is done, the liquid should be golden and very pungent. Pass the liquid through a fine mesh strainer to separate it from solids. Make sure to press down on the solids to release all goodness. Well, folks, now you have an incredible ramen noodle soup base.
Building the Perfect Ramen Bowl (Assembly)
Proper plating is an art form. Follow this order for the perfect bowl:
- The Tare: Add 2 tablespoons of your chosen Tare to the bottom of a warm serving bowl.
- The Broth: Pour in the piping hot ramen broth, whisking gently to combine it with the Tare.
- The Noodles: Carefully fold in your freshly cooked ramen noodles.
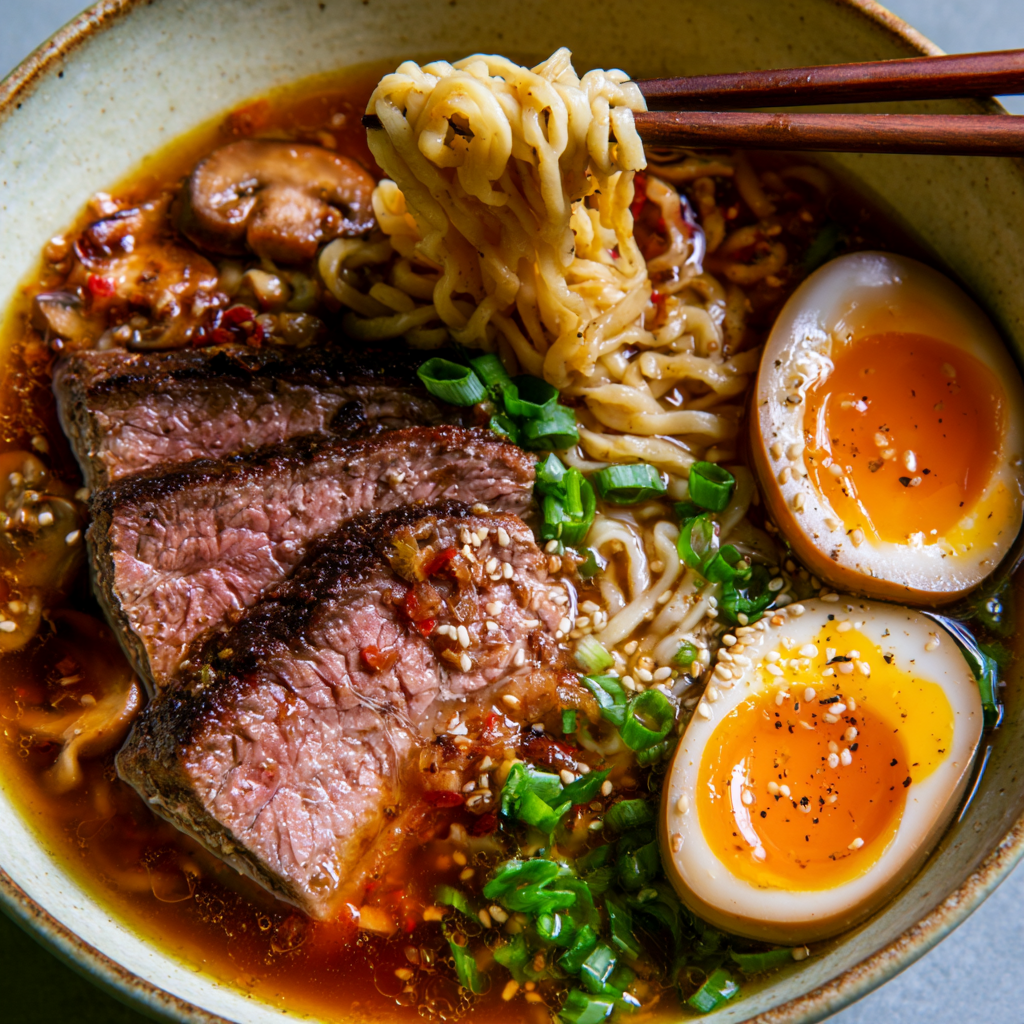
- The Toppings: Finish with thinly sliced chashu (braised pork or chicken), chopped scallions, a drizzle of toasted sesame oil, and the essential Ajitsuke Tamago (soft-boiled marinated egg).
(Chef’s Tip: Make sure to check out our short video guide on our channel showing exactly how we assemble this bowl!)
Storage Tips and Troubleshooting
- How do I store the broth? This broth freezes exceptionally well. Let it cool completely, then transfer it to heavy-duty Ziploc bags or airtight containers. It will keep in the freezer for up to 3 months, ready for your next ramen craving.
- What if my broth is too thick or reduced too much? If your simmer was too aggressive and the broth is too concentrated, simply dilute it with a little hot water or a light vegetable stock until you reach your desired consistency.
The Numbers Speak: Why Everyone is Making Ramen at Home
If you’ve noticed ramen taking over your social media feeds, you aren’t alone. The demand for authentic, restaurant-quality meals at home has skyrocketed.
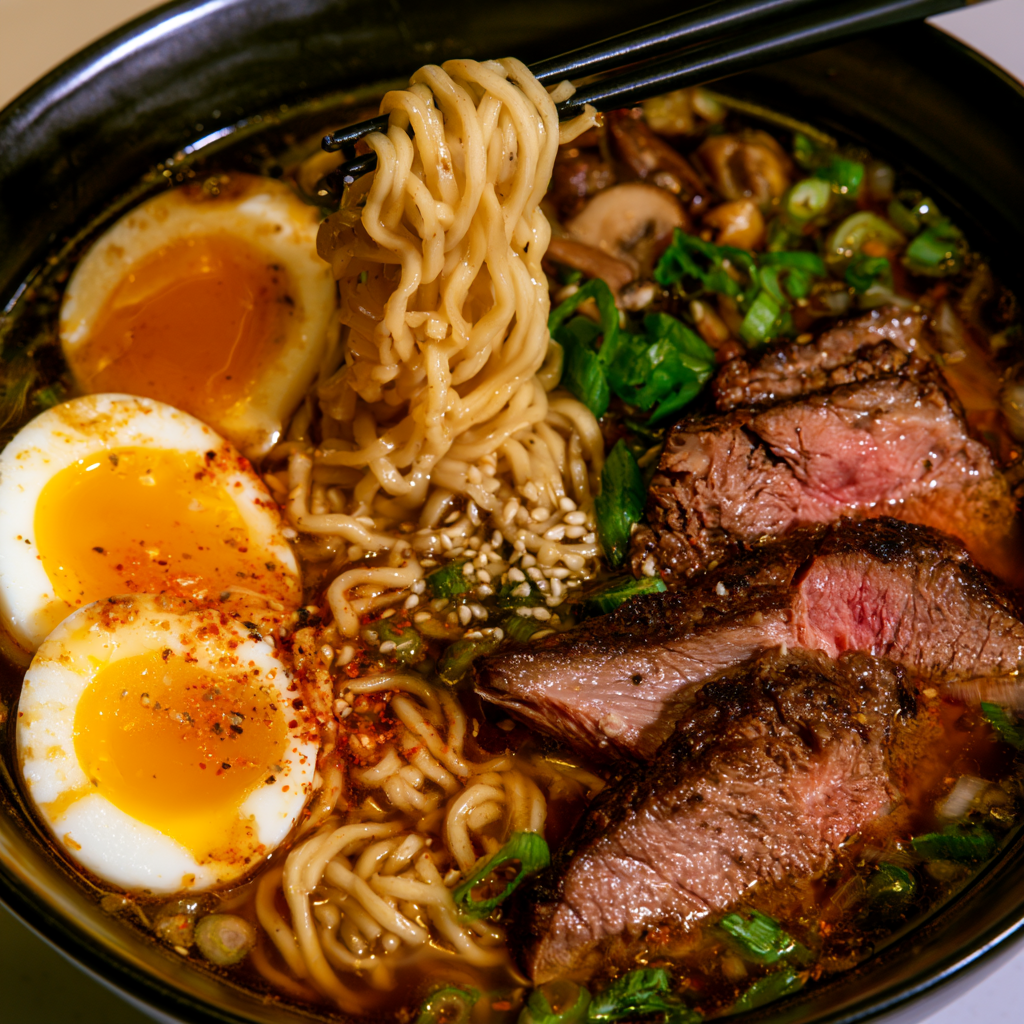
The Rising Trend of Homemade Ramen
Recent U.S. searches (August 2026) reveal that the ramen broth recipe has had a massive +250% breakout and toppled trending recipes such as sushi rice (+200%) in the past month [7]. Well, scrape that; they are now doing as they realise the secret of world-class ramen isn’t hopping a plane to Tokyo and back on your lunch break: it’s a good measure of time in formation with some very select ingredients at home.
Homemade Broth vs. Store-Bought Packets: The Ultimate Comparison
Why spend hours making a slow cooked ramen broth when you can buy a flavor packet for a dollar? Let’s break down the comparison:
| Feature | Homemade Ramen Broth | Store-Bought Instant Packets | Restaurant Ramen |
| Flavor Depth (Umami) | High – Complex layers from real bones, shiitake, and fresh aromatics. | Low – Flat, artificial, heavily reliant on MSG and powdered extracts. | High – Authentic, but you must leave home to get it. |
| Texture / Mouthfeel | Velvety & Rich – Natural collagen from slow-simmered chicken/pork bones. | Watery – Lacks natural fats and body. | Velvety & Rich – Usually slow-cooked for 12+ hours. |
| Sodium Content | Customizable – You control the salt through your Tare. | Extremely High – Often contains over 50-80% of your daily sodium limit in one bowl. | High – Typically very salty to maximize immediate flavor. |
| Cost Per Bowl | ~$2 – $4 – Highly cost-effective when made in large batches. | <$1 – Cheap, but you sacrifice quality and health. | $15 – $25 – Expensive for a regular meal. |
| Time Investment | 4 – 8 Hours (Mostly hands-off simmering). | 3 Minutes (Instant). | Zero (But requires travel and waiting in line!). |
The Time-to-Flavor Ratio (Why 4 Hours?)
You might be wondering: Can I just boil the bones for 1 hour?
From a culinary science point of view, and backed by statistics (or rather scientific conclusions), collagen extraction from bones is at its maximum when clay pot boiling for 4 to about 6 hours at a low simmering temperature around the range of190°F or85°C. A 1-hour boil will yield you a colorless, cloudy chicken soup. Those additional 3 hours are precisely what this boiling process turns water into the thick, golden, authentic ramen soup base.
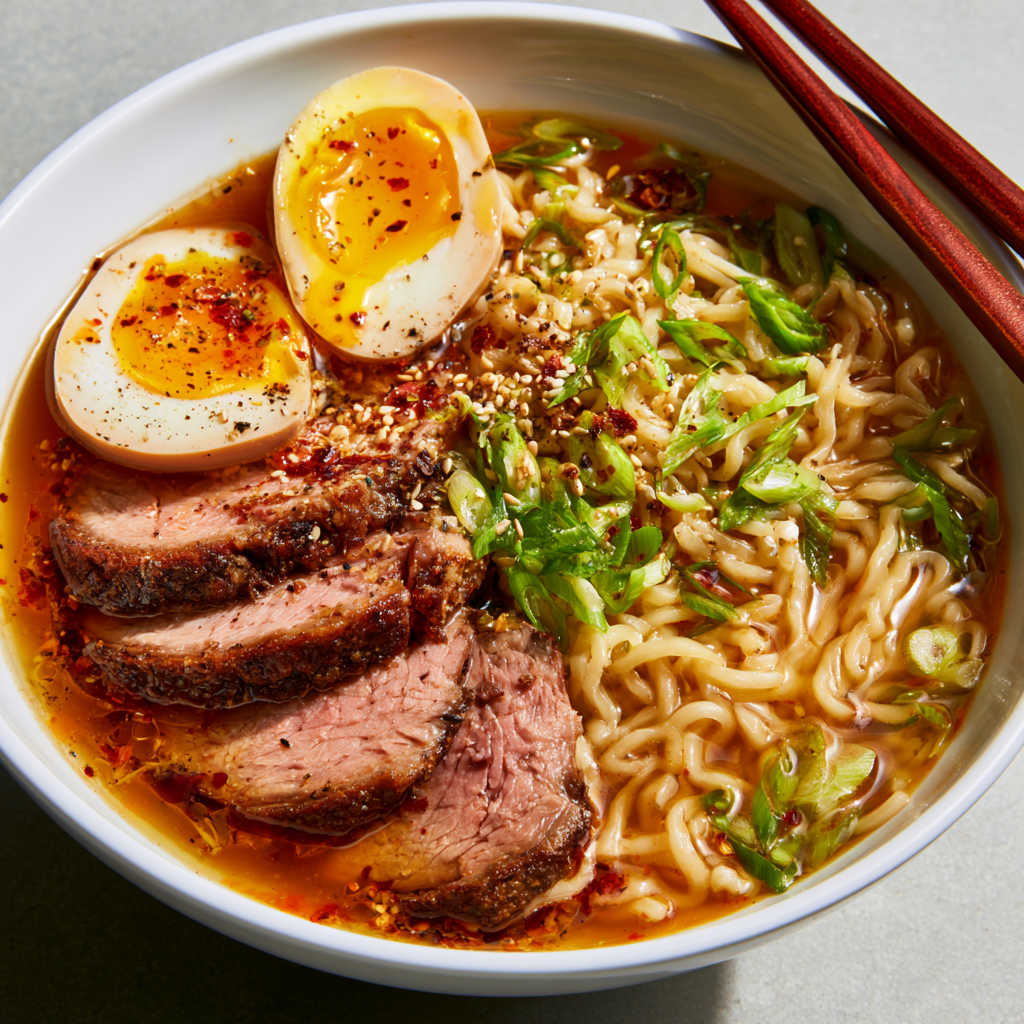
Your Journey to the Perfect Bowl Starts Here
Now that you have the ultimate guide of secrets on how to create the best ramen broth recipe, let me show you how to recreate those authentic Japanese restaurant vibes from your kitchen. Yes, it requires some patience and hours of low-and-slow simmering, but I can promise you that the moment your spoon dips into this umami-laden golden broth, you will forget every minute spent waiting. Forget store-bought packets teeming with preservatives when you can whip it up yourself and create this culinary marvel.
Share Your Creation! (It’s Your Turn)
But don’t let this recipe just sit in your bookmarks! I [really really] urge you to take the time this weekend and try out making it. When you do, just put it in, ready your camera and take an aesthetic photo or a lap874ish video of the whole bowl that comes with any custom udon.
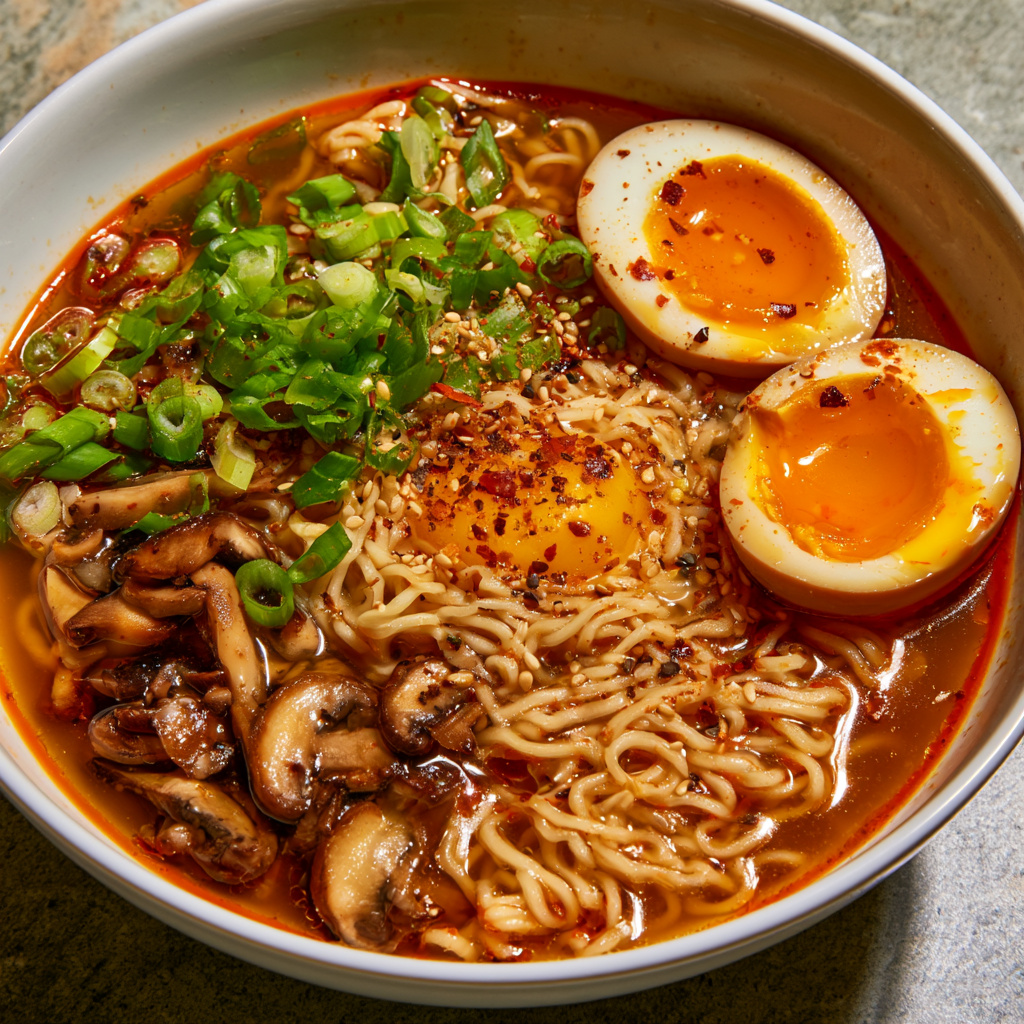
Be sure to share your results and tag me on TikTok + Instagram. I love featuring your makes and sharing them to my channel!
Let me know in the comments below what your top favorite ramen toppings are. Would you like to add braised pork, chicken or go just vegetarian? If you face any issues or have some questions regarding the simmering process, then leave a comment, and I will be happy to guide yo step by step!