
Scroll Pinterest for five minutes this month and you’ll hit it: Candy Land Christmas. Gumdrop garlands. Lollipop picks stuck in the tree. Peppermint wreaths. Whole living rooms that look like the board box exploded. Searches for “candy land christmas ideas” are up around 1,500% on last year, which is a lot of people chasing the same sugary look.
Most of it is decor, though. You can’t eat a foam lollipop. So here’s the edible version: little trees made from sugar cones, piped with bright green buttercream and loaded with gumdrops, mini M&Ms and sprinkles. No oven at all. About 45 minutes, and kids can do nearly all of it.
What Makes It “Candy Land”
Honestly? Color. Go loud. Pink and white sprinkles, rainbow gumdrops, a mini candy cane poking out the side. The game itself goes back to the late 1940s (Milton Bradley put it out in 1949), so grandparents at the table usually get a kick out of it too.
Two Things I Learned the Messy Way
Stiff frosting. Not optional. Soft buttercream slides right down the cone and takes the candy with it, and then you’ve got a green puddle and a crying six-year-old. If yours feels loose, beat in more powdered sugar a spoonful at a time.
Second: glue each cone to a cookie before anyone starts decorating. Gives little hands something to hold, and the finished tree actually stands up. Plain sugar cookies are fine. My Danish butter cookies work great if there’s a tin around.
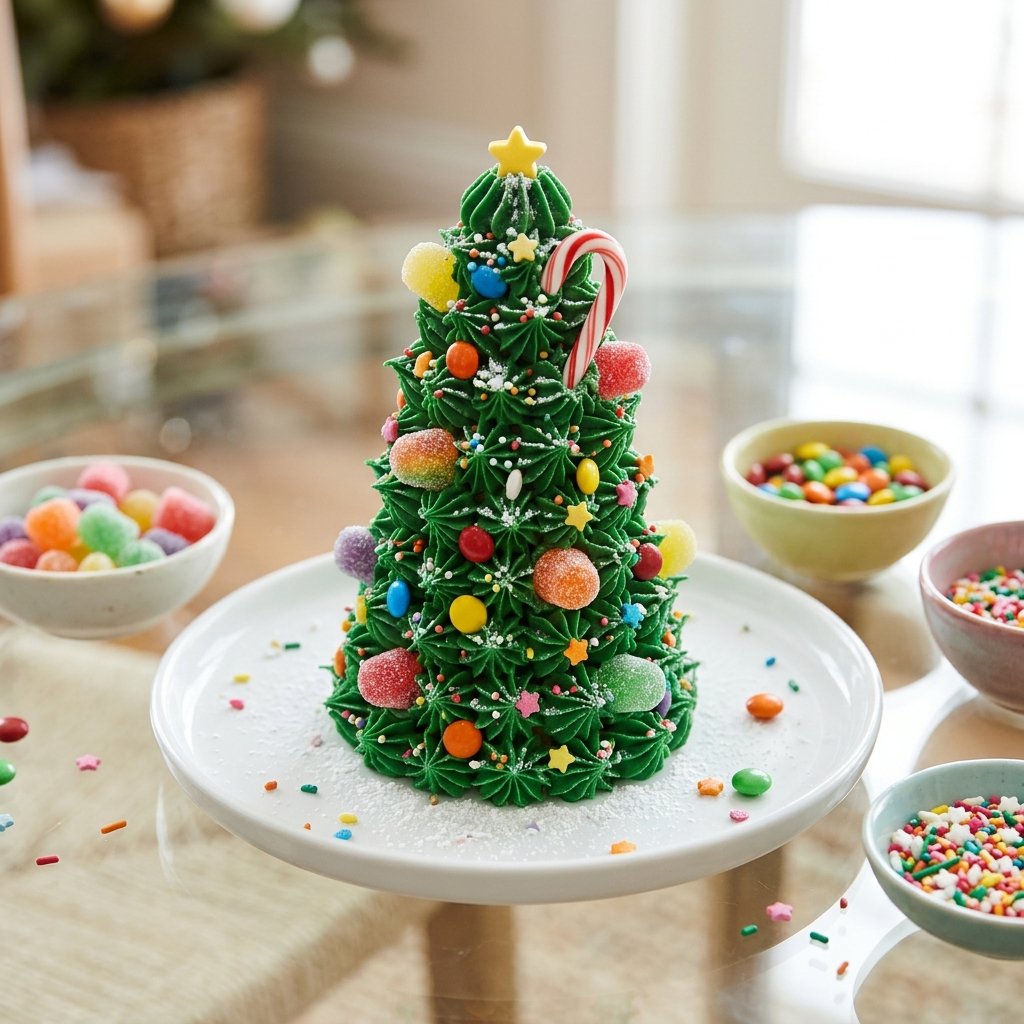
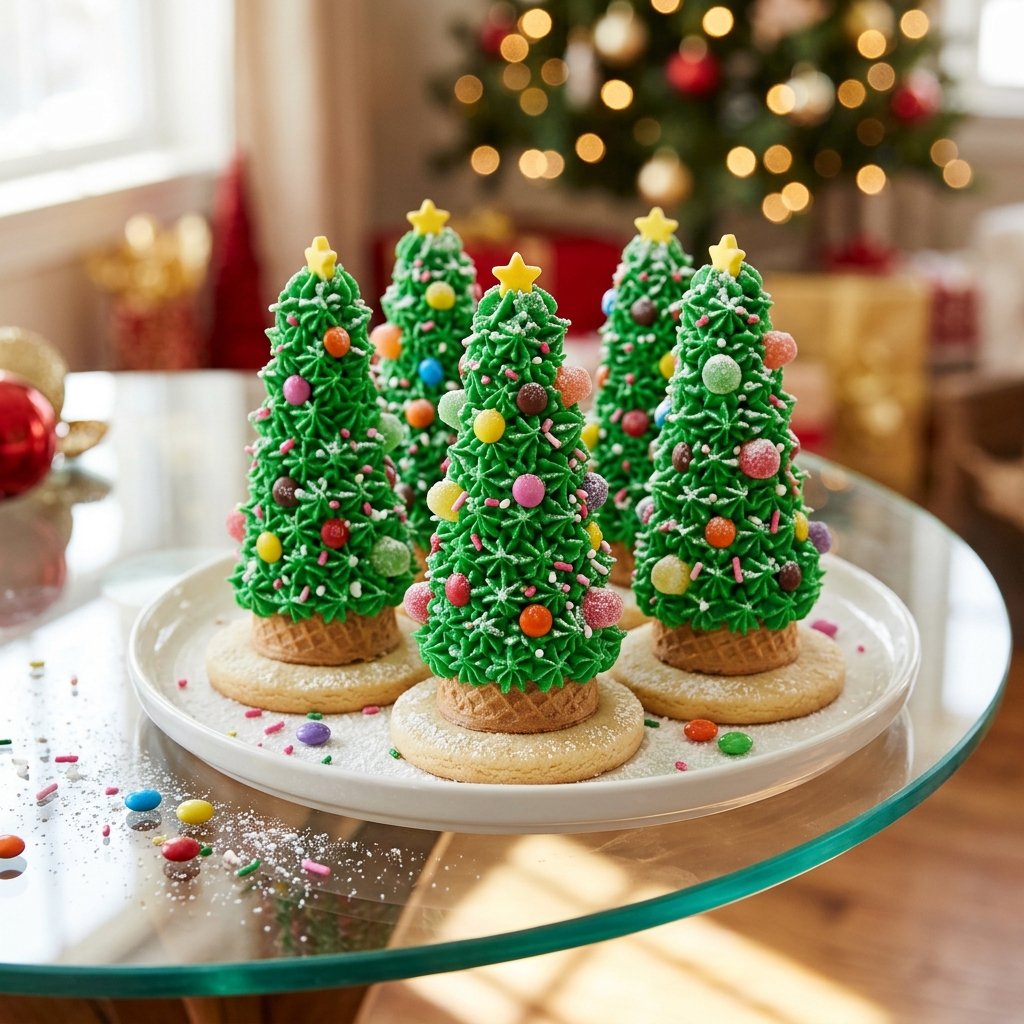
Candy Land Christmas Trees
Ingredients
- 12 sugar cones pointed waffle-style cones
- 12 round sugar cookies store-bought, for the bases
- 1 cup unsalted butter 226 g, softened
- 3 1/2 cups powdered sugar 420 g
- 3 tablespoons heavy cream
- 1 teaspoon vanilla extract
- green gel food coloring a few drops
- 1 cup small gumdrops
- 1/2 cup mini M&Ms
- 1/4 cup rainbow or pink-and-white sprinkles
- 12 mini candy canes or lollipops optional
- 12 yellow star candies or star sprinkles for the tops
Equipment
- Stand or hand mixer
- Piping bag
- Small open star piping tip (Wilton 16 or 21)
- Baking sheet or tray
Method
- Beat the butter for 2 minutes until creamy. Add the powdered sugar a cup at a time, then the cream and vanilla, and beat until smooth and stiff.
- Tint the frosting bright green with a few drops of gel coloring. Spoon it into a piping bag fitted with a small star tip.
- Pipe a small dot of frosting on each cookie and press a cone upside down onto it, so the cookie becomes the base. Set them on a tray.
- Starting at the bottom, pipe little stars or zig-zags all the way up each cone until it is covered.
- Press on gumdrops and mini M&Ms like ornaments, add sprinkles and tuck in a mini candy cane if you like.
- Finish each tree with a star on top. Let them set for 15 minutes before moving them.
Nutrition
Notes
Private Notes
Tried this recipe?
Let us know how it was!Make a Candy Forest and Show Me
Make these with your kids this week and tell me in the comments which candies ended up on top. The wilder the better. If they were a hit, leave a star rating on the recipe card, and save it to your Christmas board on Pinterest for the next party.